Work smarter (not harder) with this fabulous tool to join ends of paper rush. Have you added this great tool, hog ring pliers, to your toolbox yet?
If you, like me, are a tool junkie and just love seeing and using new tools in your chair seat-weaving business, you’re reading the right blog post!
This page may contain affiliate links, so when you make a purchase through one of these links, I receive a small compensation at no extra cost to you.
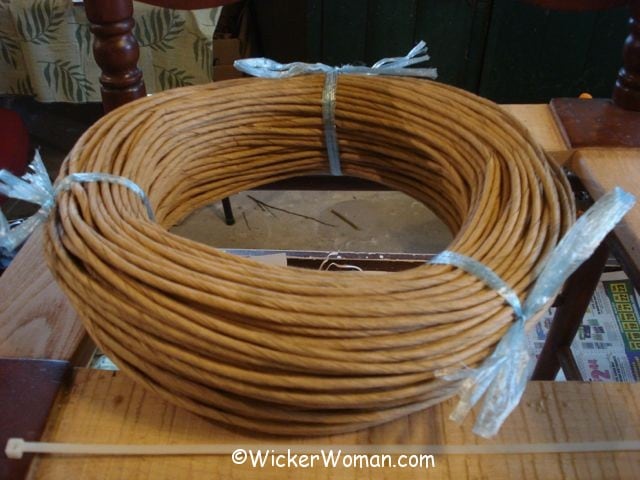
As you may know, there are several ways to join ends of rush together when weaving a rush seat in the typical envelope triangle pattern.
Common methods of joining the old strand and the new are to:
- tie a square knot
- glue together the ends
- wrap with waxed linen or any other type of string
- wrap with tape
- overlap the strands and then clamp with a hog ring
Back in 2010, at the 3rd Annual Gathering of The SeatWeavers’ Guild, Inc.® at Tillers International in Scotts, Michigan, one of our members, Jan Stansell from Georgia, introduced a time-saving tool she uses when weaving a paper fibre rush chair seat.
This marvelous tool has two parts: hog rings and hog ring pliers, which are used to join two strands of paper rush.
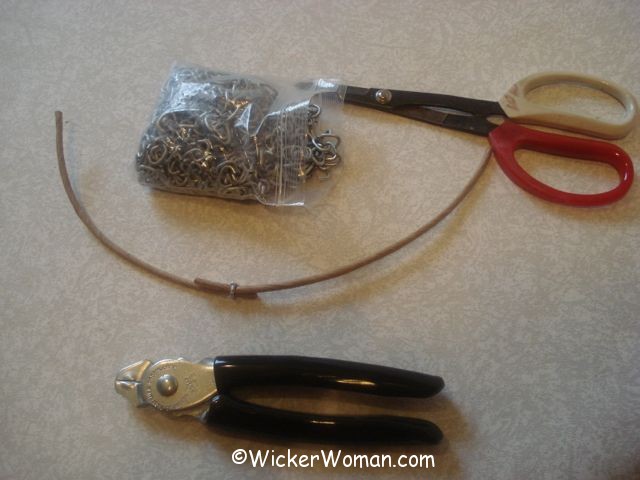
Until seeing and trying this method of using the hog ring to join two strands of paper rush, I had always unraveled the end of the old strand, applied some carpenter’s yellow glue to it, placed the end of the new strand in the old and rewrapped the two strands together.
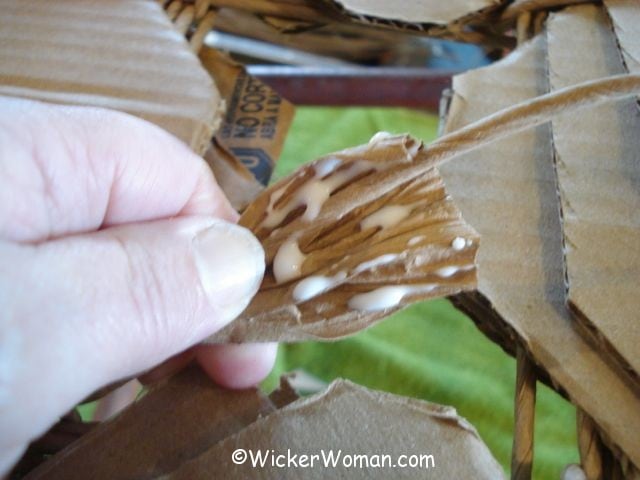
Then, using a snap clothespin, I would hold the splice until the glue dried. I was careful to do all this splicing inside the gussets or pockets created on either the front, back, or side rails so they would be hidden by the weaving and never exposed to view.
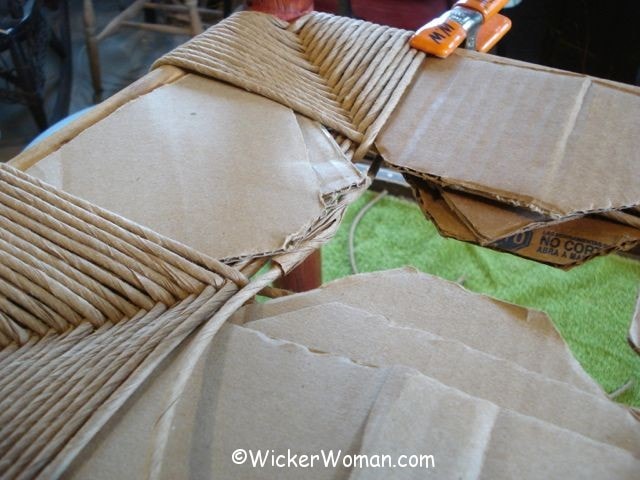
Now, I use this quick and dirty way of joining paper rush using hog ring pliers and 3/8″ rings, saving me a bunch of time and messing with the glue!
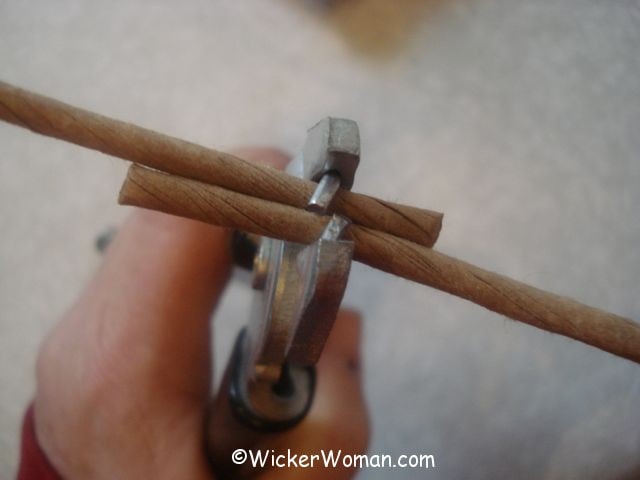
Be sure to measure the end lengths of the rush so the join will be inside a gusset or pocket, then take out the little 3/8″ metal clip, put it in the pliers, place the ring around the two end pieces of the rush splice, and pinch!
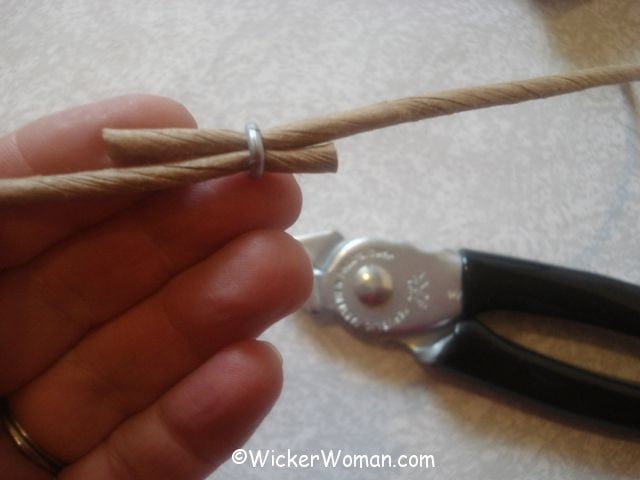
Only takes about a second and there’s NO MESS at all. Boom, you’re done! Slip the join inside the gusset between the cardboard layers and go on with the weaving!
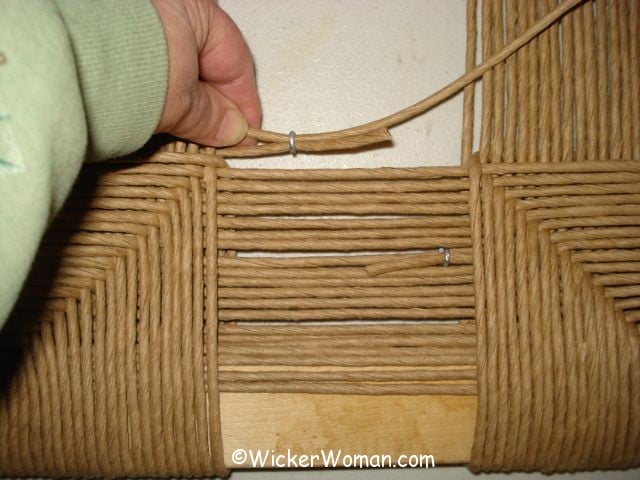
Thank you, Jan Stansell, for showing all of us guild members how to use these handy hog ring pliers and hog rings to join two strands of paper rush.
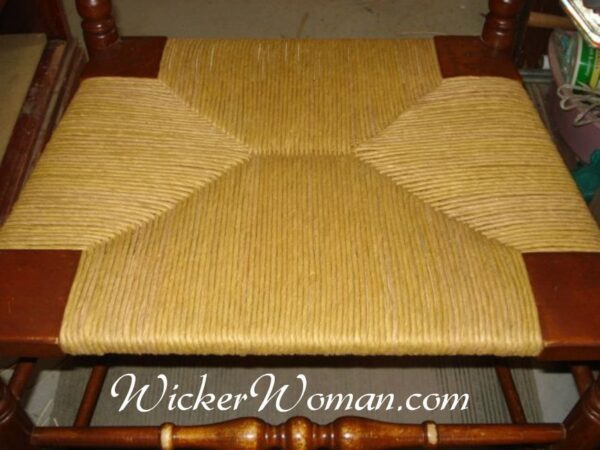
We always learn so much at The SeatWeavers’ Guild, Inc. annual business meetings and gatherings, especially during the Tools, Hints, Tips, and Sharing workshop/seminar.
Be sure to check out all the previous and current Gatherings of The SeatWeavers’ Guild, Inc. which have been held all across the country since our founding meeting in 2007.
I also use the hog rings to join other materials, like seagrass, Danish cord, rope, and polycord. Depending on the seat pattern, you might need to get creative when hiding the joins.
Have you used hog rings to join your paper rush strands, yet? Please let me know in the comments if you use another type of joining method.

What are your thoughts about this blog post?
Leave your comments below and share with your social networks!
~~Live Well, Laugh Often, Love Much ~~
Happy Weaving, until next time!


Hello Cathryn, I use the hog rings and they work great! I wanted to let you know that your news letter is great and full of info and tips. Thanks so much!
Thank you Nan, I’m so happy to ear you found the hog rings helpful and you like my newsletter, too!
Good morning Cathryn,
I learned about the hog rings from a blog post on your site years ago. I had always struggled with the knots on fiber rush and the hog rings are best and easiest way I have found to join the rush. Thank you for your knowledge and expertise !
Take care,
Beth
Thank you so much Beth, I’m happy to hear you are a convert to the hog ring application, too! Glad to hear my site has helped you!
Sooooo glad I thought to look this up before tackling the second of five chairs I’m putting new seats on with 3/8” fiber rush. I followed instructions that were very good, only they were using a very fine gauge and did tie on new pieces with knots, which were very small and neat. Mine were not, but I didn’t know what else to do. I had used the hog ties when weaving a sea grass stool as that is how they did it in video I watched. Got to thinking about that and decided to Google and see if it was unheard of with fiber rush and chair seats. Your post came up and is EXACTLY the answer I was looking for. Thank you so much for the precise instructions. The original seats were woven with one continuous strand back in the 1940s. Being able to use the hog ties is going to be a game changer for me. Thanks again.
Oh good, Billie, so happy this post about the hog ring connections for rush helped you out, I love using them! Thanks for leaving your comment, too! Sometimes you need to increase the paper rush gauge or size to fit with the design and use of the chairs. Dainty chairs get finer gauge and large, colonial-style ladderbacks will take a bigger gauge. The #4 size rush I used in my first paper rush chair seat was way too small for the mule-ear style seat frame.
Hi! I am rushing a seat with natural fiber. May I join the ends with the clamps or tie with wax cord? Can you tell me how to tie the wax cord if I can’t use the clamps?
Thanks so much
Heidi
Thanks for the hog ring blog. Remember reading this on the forum but it’s great to see the pics.
I have been trying to find the appropriate hog rings here in England. Have the crimpers but the only rings that I can find locally are too big – too long and too wide.
Please would you let me know what size the rings are that you use. Pic of the packet front would be great. Then I might be able to find the right thing on the net.
Many thanks.
Sorry Sue, but I don’t have the package the rings came in any more and not even sure where I got them. Will do some investigation though and see what I can come up with for you.
Have you gone online to check and see if you can find an English supplier with the right size rings for your pliers or crimper? And didn’t the supplier you originally bought the pliers/crimper from have the rings? You could also check with your local farm supply stores, I bet they’d know where you can purchase the rings.
I compared the images to the sizes of ring I had on hand. They are most likely 3/8″ blunt C-style hog rings. You might need a different size depending on your material. Hog ring sizes are the outside length on the long part, so the inside is smaller and the opening is about 3/4 the total length. I would recommend using stainless steel rings, so they do not rust and discolor your projects.
I’ve seen these types of chair seats before but had no idea that it actually had a name. Silly me… of course they do… a paper fibre rush chair seat! Very cool demonstration. Now I can feel all smart when I run into one of these chairs during my travels! LOL!
Cathryn,
You must be reading my mind!
When I opened my mail just now and saw your “joining rush with hog ties” posting, I had to write! I just finished the first of the cathedral chairs and was checking the joins of the paper rush. I have been using rabbit cage clips which seem similar but I like the slimmer dimension of the hog ties, which I’d forgotten about until seeing your blog post.
Thank you for posting what I needed to read when I needed to read it! 🙂
Oh, I’m so glad my paper rush tip helped you just when you needed it! Thanks for letting me know Laurie, you made my day.
What’s wrong with tying the two pieces together as is shown in a demo on this site? It looked very easy and isn’t messy.
Hi Jean,
Thanks so much for leaving a comment here on the blog, but I think you may have me and my site confused with someone else.
I have NEVER tied together the strands of paper fibre rush together when making a splice. The reason is that the knot created is large and takes up too much space and looks amateurish in my opinion.
It’s so much nicer looking and all the strands lay neatly together when you use either glue to connect the strands or use the hog ring pliers to attach the ends in a splice.